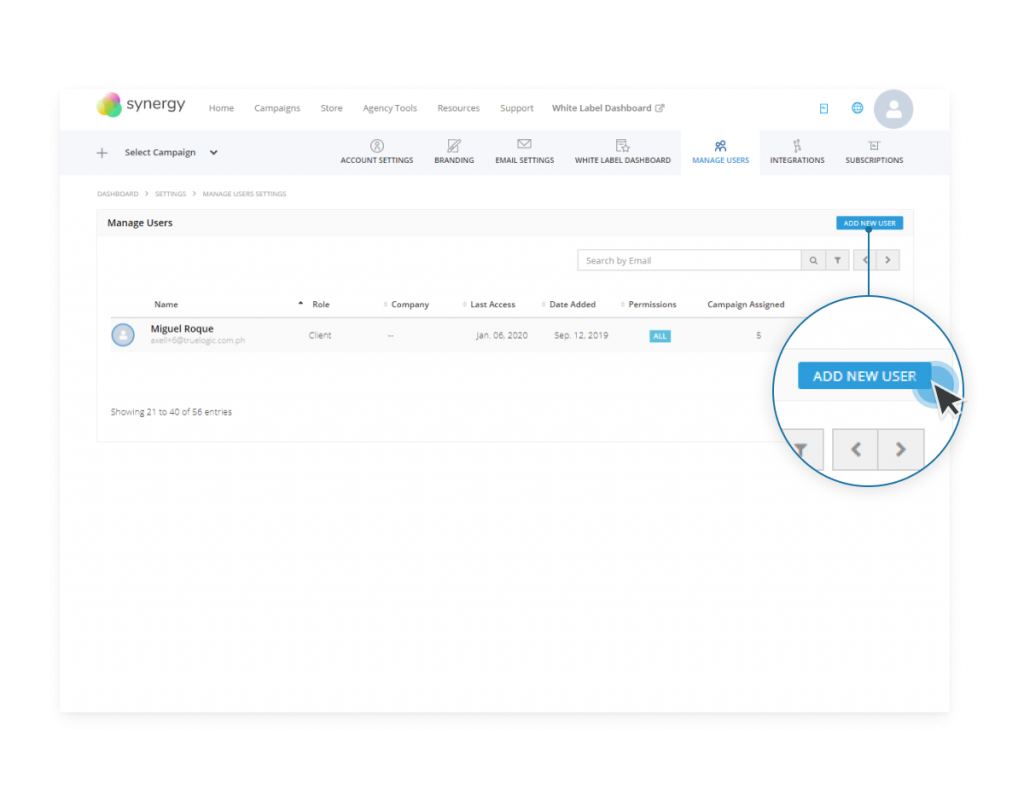
Today I’m going to walk you through the steps of setting up your client dashboard. Our white label dashboard will help you deliver real-time updates, monthly reports, and proposals. We’ve created a wizard to help you do this on your own. With our new tool, you can offer your clients customer self-service in just three easy steps. This entry will be your guide to setting up your dashboard.
Step 1: Create Your Dashboard
Once you log in to your reseller dashboard, click on the “Get Started” button of the the blue banner where it says “Install your White Label Dashboard.” Clicking on it takes you to the white label wizard.
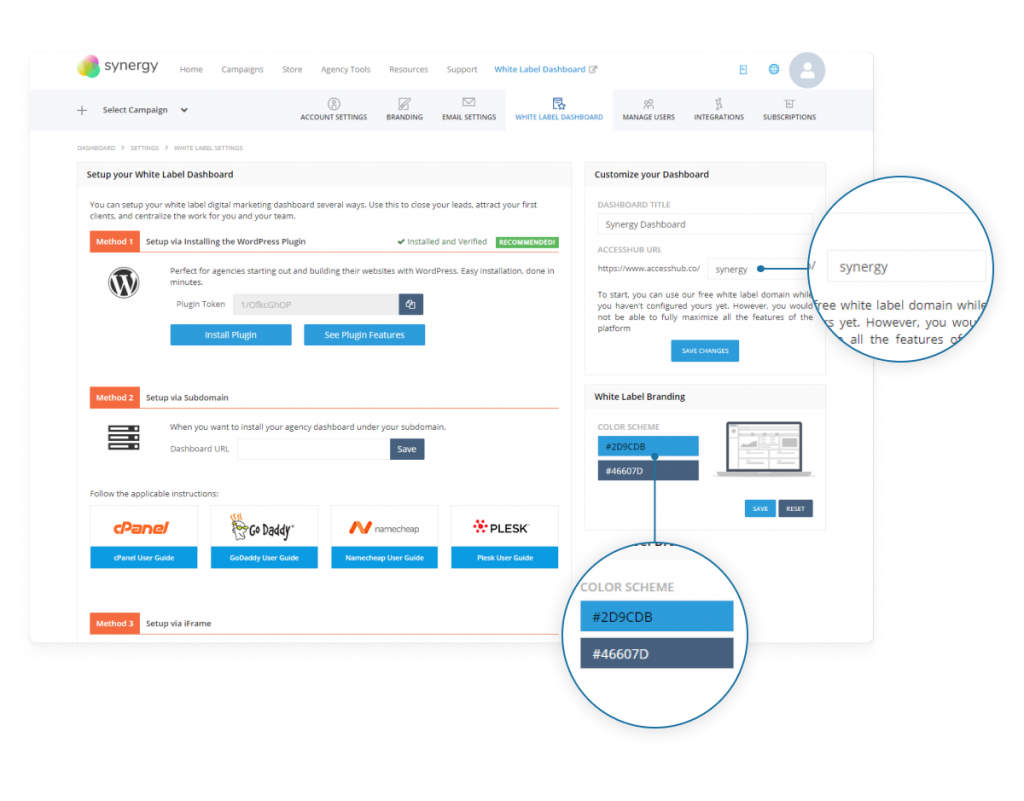
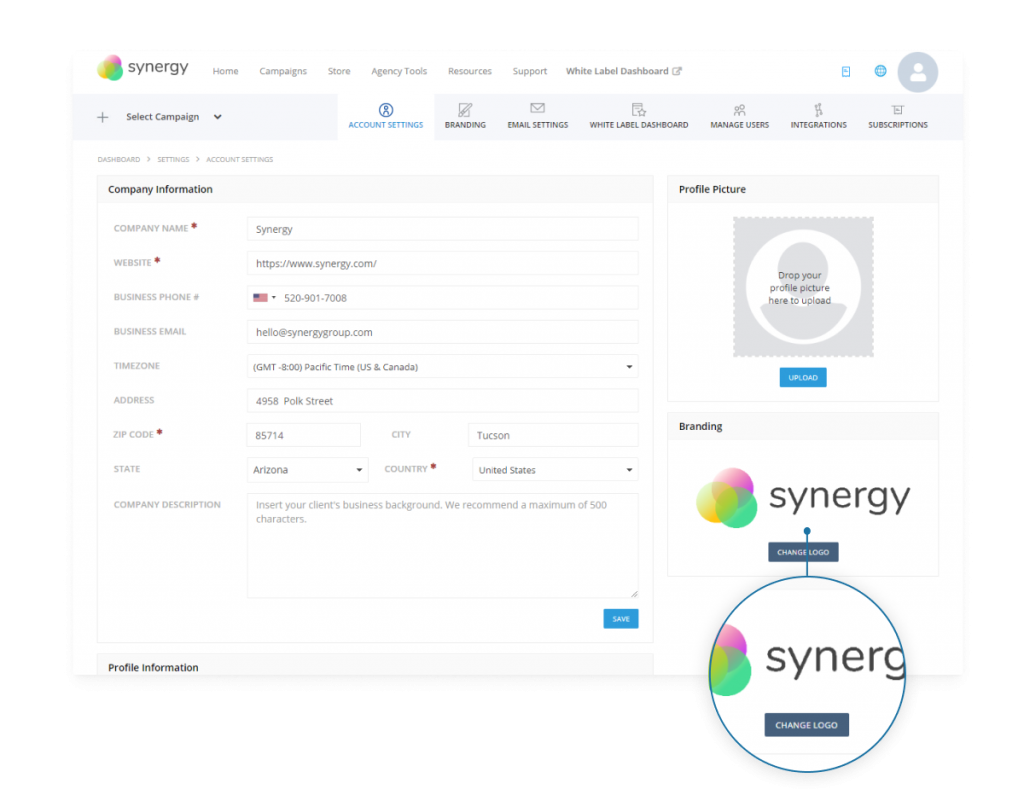
The first page asks you to enter your dashboard URL and a unique name for your dashboard. This is also where you will choose a theme and upload your brand logo to fully customize your white label dashboard.
Step 2: Brand Your Dashboard
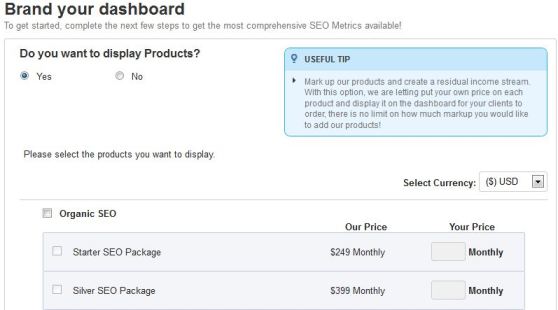
The next step is to add functionality to your dashboard. Choose what pages you want to display and add our packages with marked-up prices easily using our new White Label Wizard. The pages featured are the packages, proposals, reports and support pages.
Step 3: Add Your Clients
The final step is creating accounts for each of your clients. Provide your client’s details, create a username and provide a temporary password for them. Select their websites from a scroll-down list of your existing campaigns, add these to their account, and click Add Clients. When you’re done adding all your clients, click Finish. Your white label dashboard will be up and fully functional.
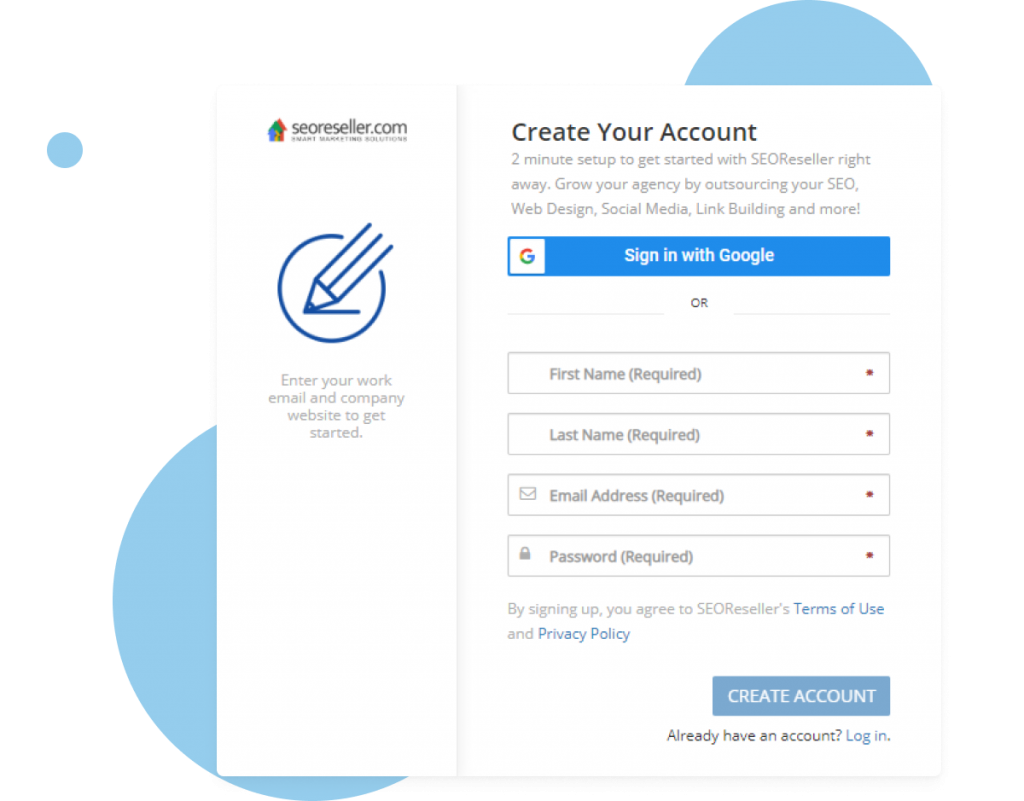
Each page on the wizard contains useful tips, which will help make your setup easier. With three steps and a few minutes of providing information, you can cut down time on customer service and focus on growing your business. Log on to your reseller dashboard or sign up for an account today to set up your white label dashboard using our new White Label Wizard, or contact your account manager if you need additional help.
