Providing the all-in-one dashboard to your clients on your domain is one of the many features that make us a truly white label solution for your clients’ marketing needs. Currently, there are three ways to accomplish this – by using our domain, by directing your domain to our server and uploading an HTML file to your website.
Both latter options, are reliable but are slightly more technical than most people would prefer and because of this, we are offering a fourth, wonderfully untechnical option – a simple SEO WordPress Partner plugin.

Check out the instructions below for the WordPress plugin as well as the instructions for the other three methods. As a note, you may need the help of your webmaster to add a CNAME record or uploading an HTML file on your website.
Method 1: Use Our Domain
This is the easiest and quickest way to access your domain.
- Log into your dashboard
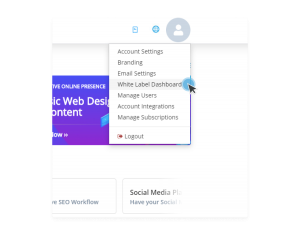
- Navigate to the White Label > Dashboard Setup
- Personalize your preferred dashboard domain name.

4. Click View Your Dashboard and login using your demo credentials.
Username: [email protected]
Password: demo
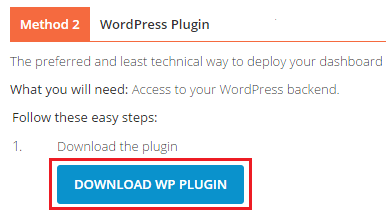
Method 2: WordPress Plugin
Our WordPress plugin is the least technical way to deploy your dashboard on your WordPress site. It also enables you to show our portfolio using your URL, a feature that will be helpful when you’re pitching to potential clients. You will need access to your WordPress backend in order to use this method.
Simply follow the steps below:
1. Log in to your dashboard and go to White Label > Dashboard Setup.
2. Down the plugin by clicking Download WP Plugin in the Method 2: WordPress Plugin section.
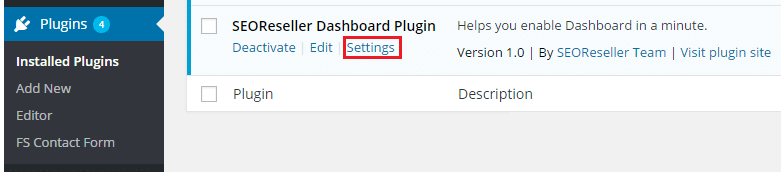
3. While logged into your WordPress site, click on Plugins to open the Plugins page.
4. Click the Add New button and upload the .zip file downloaded from the dashboard.

5. Click on Settings where you will be able to view and edit your plugin settings.
6. Paste your Plugin Token into this field. You can find it at White Label > Dashboard Setup in the Method 2 section.
7. The Status of your Dashboard will be enabled by default. You will need to enable the Status of your Portfolio by checking the box. After enabling your portfolio, you will be able to determine the URL that points to your portfolio.
- Dashboard: Enter the Page Name for your dashboard. What you enter into this field determines the Page URL of your dashboard.
- Portfolio: Enter the Page Name for your portfolio. What you enter into this field determines the Page URL of your portfolio.
8. Click Save Changes.
Based on the screenshot, we can access your client dashboard at www.yourdomain.com/dashboard and your portfolio at www.yourdomain.com/webdevelopmentportfolio.
Method 3: Direct Your Domain To Our Server
*Note: You may need the help of your Webmaster if are not familiar with your website’s control panel.
We have created step by step instructions for the most popular control panels.
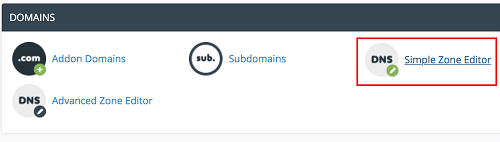
cPanel
1. Log into your website’s cPanel and click the Simple Zone Editor icon in the Domains section.
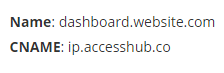
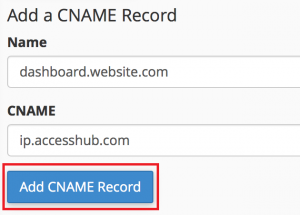
2. In the Add a CNAME Record section, enter the following information:
3. cPanel will automatically verify each of the entries. Click the Add CNAME Record button. You’re finished in cPanel.
4. In your Dashboard, find the White Label > Dashboard Setup, and update the Dashboard URL with your new dashboard URL.

GoDaddy
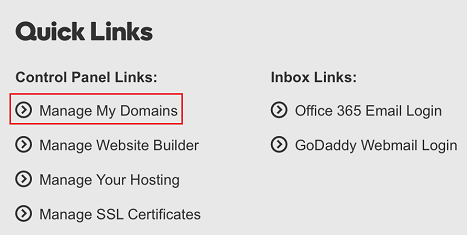
- Log into GoDaddy and click on Manage My Domains under Control Panel Links.
2. Choose the appropriate domain.
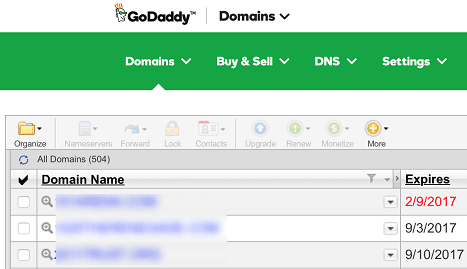
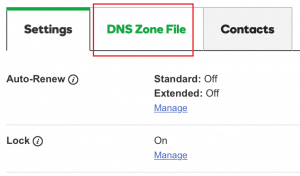
3. Under the DNS Zone File tab, click Add Record.
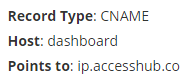
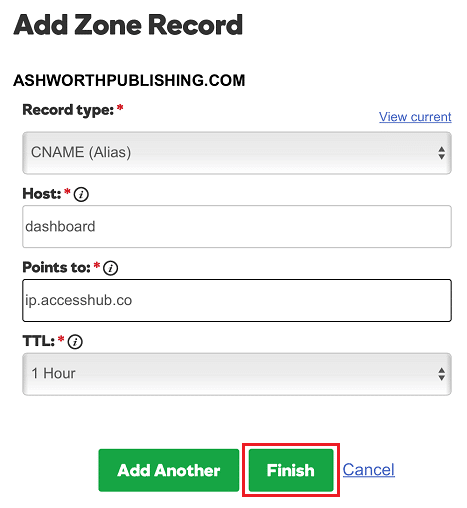
4. Enter the following information:
5. Click Finish.
6. Click Save Changes. Your changes are not saved otherwise.

7. Go back to your dashboard, navigate to the White Label > Dashboard Setup, and update the Dashboard URL with your new dashboard URL.
Namecheap
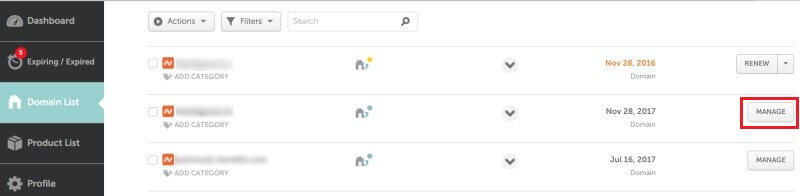
- Log into Namecheap and under the Domain List tab click Manage for the appropriate domain.
2. Click on Add New Record under the Advanced DNS tab.
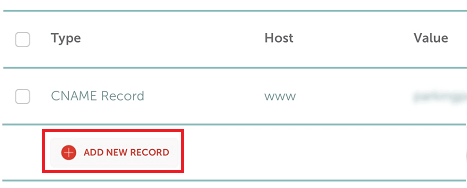
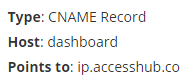
3. Enter the following information:
4. Click Save All Changes.

5. Go back to the dashboard, navigate to the White Label > Dashboard Setup, and update the Dashboard URL with your new dashboard URL.
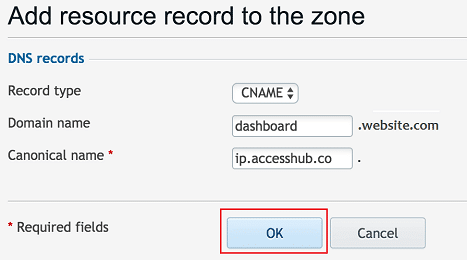
Plesk
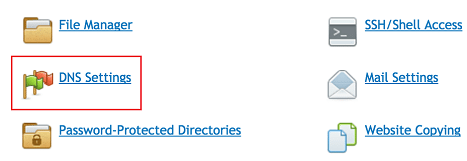
- Log into your Plesk control panel and click on DNS Settings in the Websites & Domains tab.
2. Click on Add Record in the Tools section.

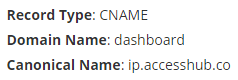
3. Enter the following information:
4. Click OK.
5. Click on the Update button at the top of the screen. Your changes are not saved otherwise.

6. Go back to the dashboard, navigate to the White Label > Dashboard Setup, and update the Dashboard URL with your new dashboard URL.
Method 4: Upload HTML File To Your Site
cPanel
1. Go to the dashboard and download the zipped HTML file located in the Method 4 section at White Label >Dashboard Setup

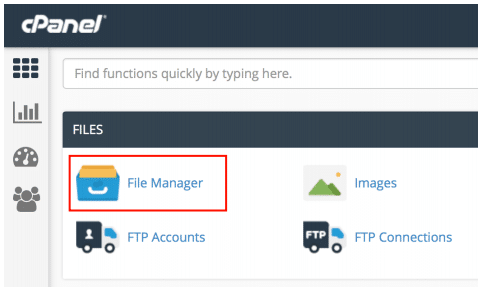
2. Log into your cPanel homepage, click File Manager (located under the Files section)
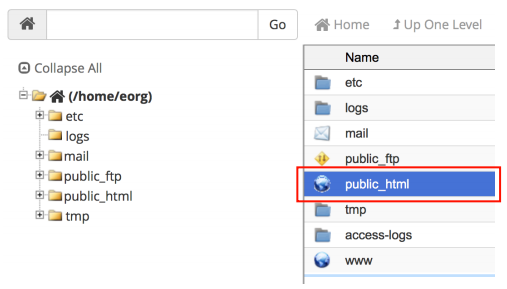
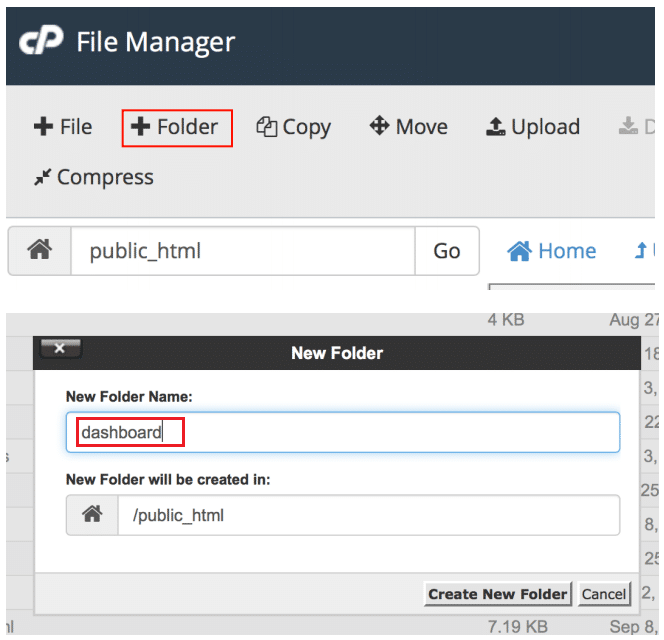
3. Inside File Manager, click on public_html and create a new folder and label it as dashboard.
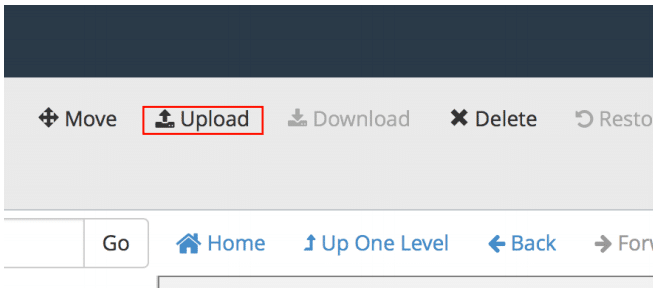
4. Under the Dashboard folder, click Upload.
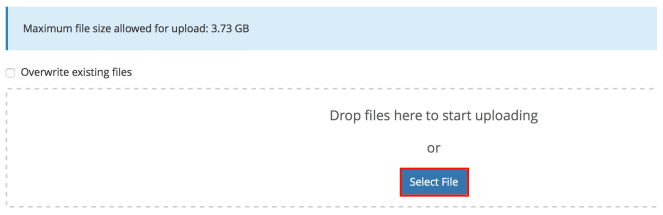
5. You will then be redirected to another page where you can upload the zipped HTML file. Click Select File.
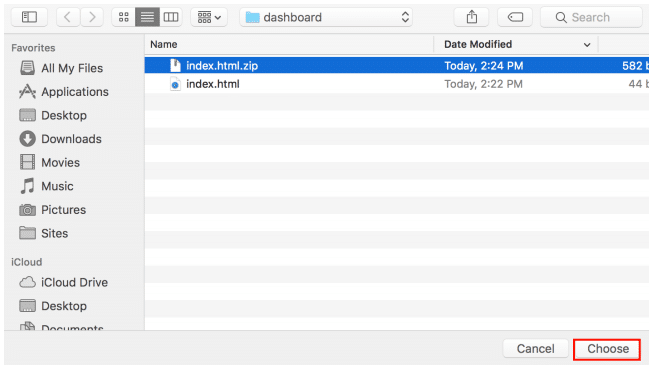
6. Locate your zipped HTML File in your file directory and then select for upload.
7. Once the upload is complete, click the link that will take you back to the dashboard folder.
![]()
8. Click the Extract files link.
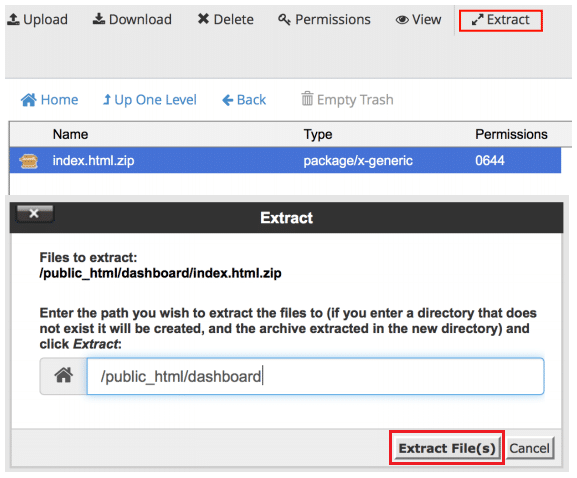
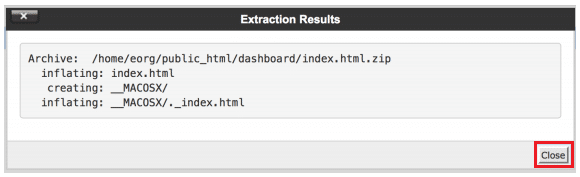
9. Once you start extracting, a window will pop-up showing you the extraction results status. You can just close this.
Note: To see the extracted HTML file, right-click and choose reload. You will be directed back to Files section. The HTML file will appear in your Dashboard folder.
10. Congratulations! You’ve now successfully uploaded your own HTML file using cPanel. You’ll now be able to access your client dashboard by going to www.yourdomain.com/dashboard
Plesk
1. Go to the dashboard and download the zipped HTML file located in the Method 4 section at White Label >Dashboard Setup.
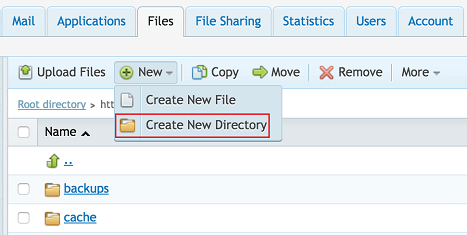
2. Log into your Plesk homepage, go to Domains > File Manager. In the httpsdocs folder of your Root directory folder, click New > Create New Directory.
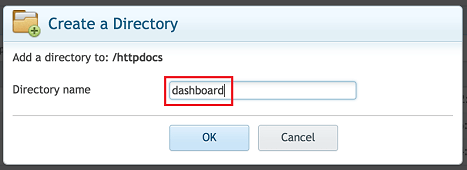
3. Name the folder dashboard then click OK.
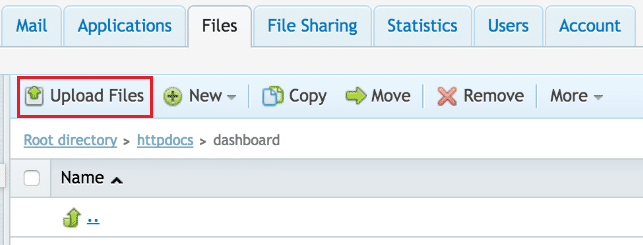
4. Go to the dashboard folder and click Upload Files.
5. Locate your zipped HTML File in your file directory then select for upload.
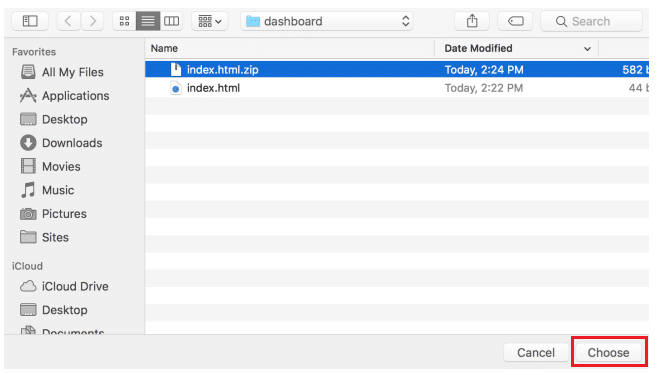
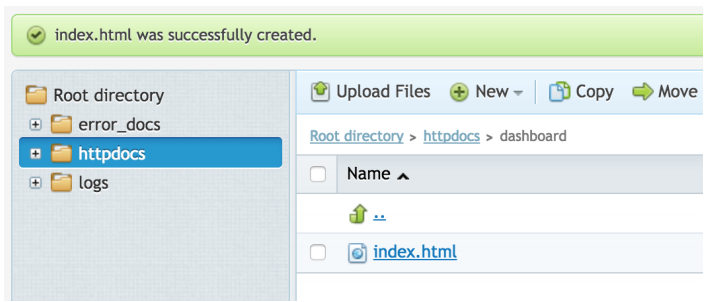
6. After uploading, select the zipped HTML file then click on the More tab to extract files. It will only take a few seconds to extract the file, which will also appear in your Dashboard folder.

7. Congratulations! You’ve now successfully uploaded your won HTML file in Plesk. You can visit your dashboard by going to www.yourdomain.com/dashboard
Of course, you’re welcome to continue using the cPanel and iFrame methods but the WordPress plugin is a less techy alternative for our less techy clients. If you have any questions, send us a chat and we’ll be happy to help!